The Mended Wood Embroidery Handicraft
Welcome to Day 4 of our 5 Days of The Green Ember series!
Today we will be working on a handicraft. This is a perfect handicraft for your Afternoon Occupations during the cooler winter months or for quiet time. And it can be easily adjusted for your younger stitchers by breaking it down into smaller pieces - we suggest only working on one color at a time and in 20 to 30-minute sessions for all beginners. This is actually a fun beginner-level piece for learning basic stitches.
To me, the game of Starseek that opens The Green Ember is such a sweet game and a lovely introduction to the beautiful world that we have glimpses of, but that will be fulfilled in The Mended Wood. So I chose the Starseek star to be the centerpiece of this pattern.
5 Days of the Green Ember
A Conversation with S.D. Smith
Nature Study with The Green Ember
Lighthall Watercolor Art Lesson
What you'll need:
6 inch wooden embroidery hoop
White or ivory linen fabric or a fabric item to embroider
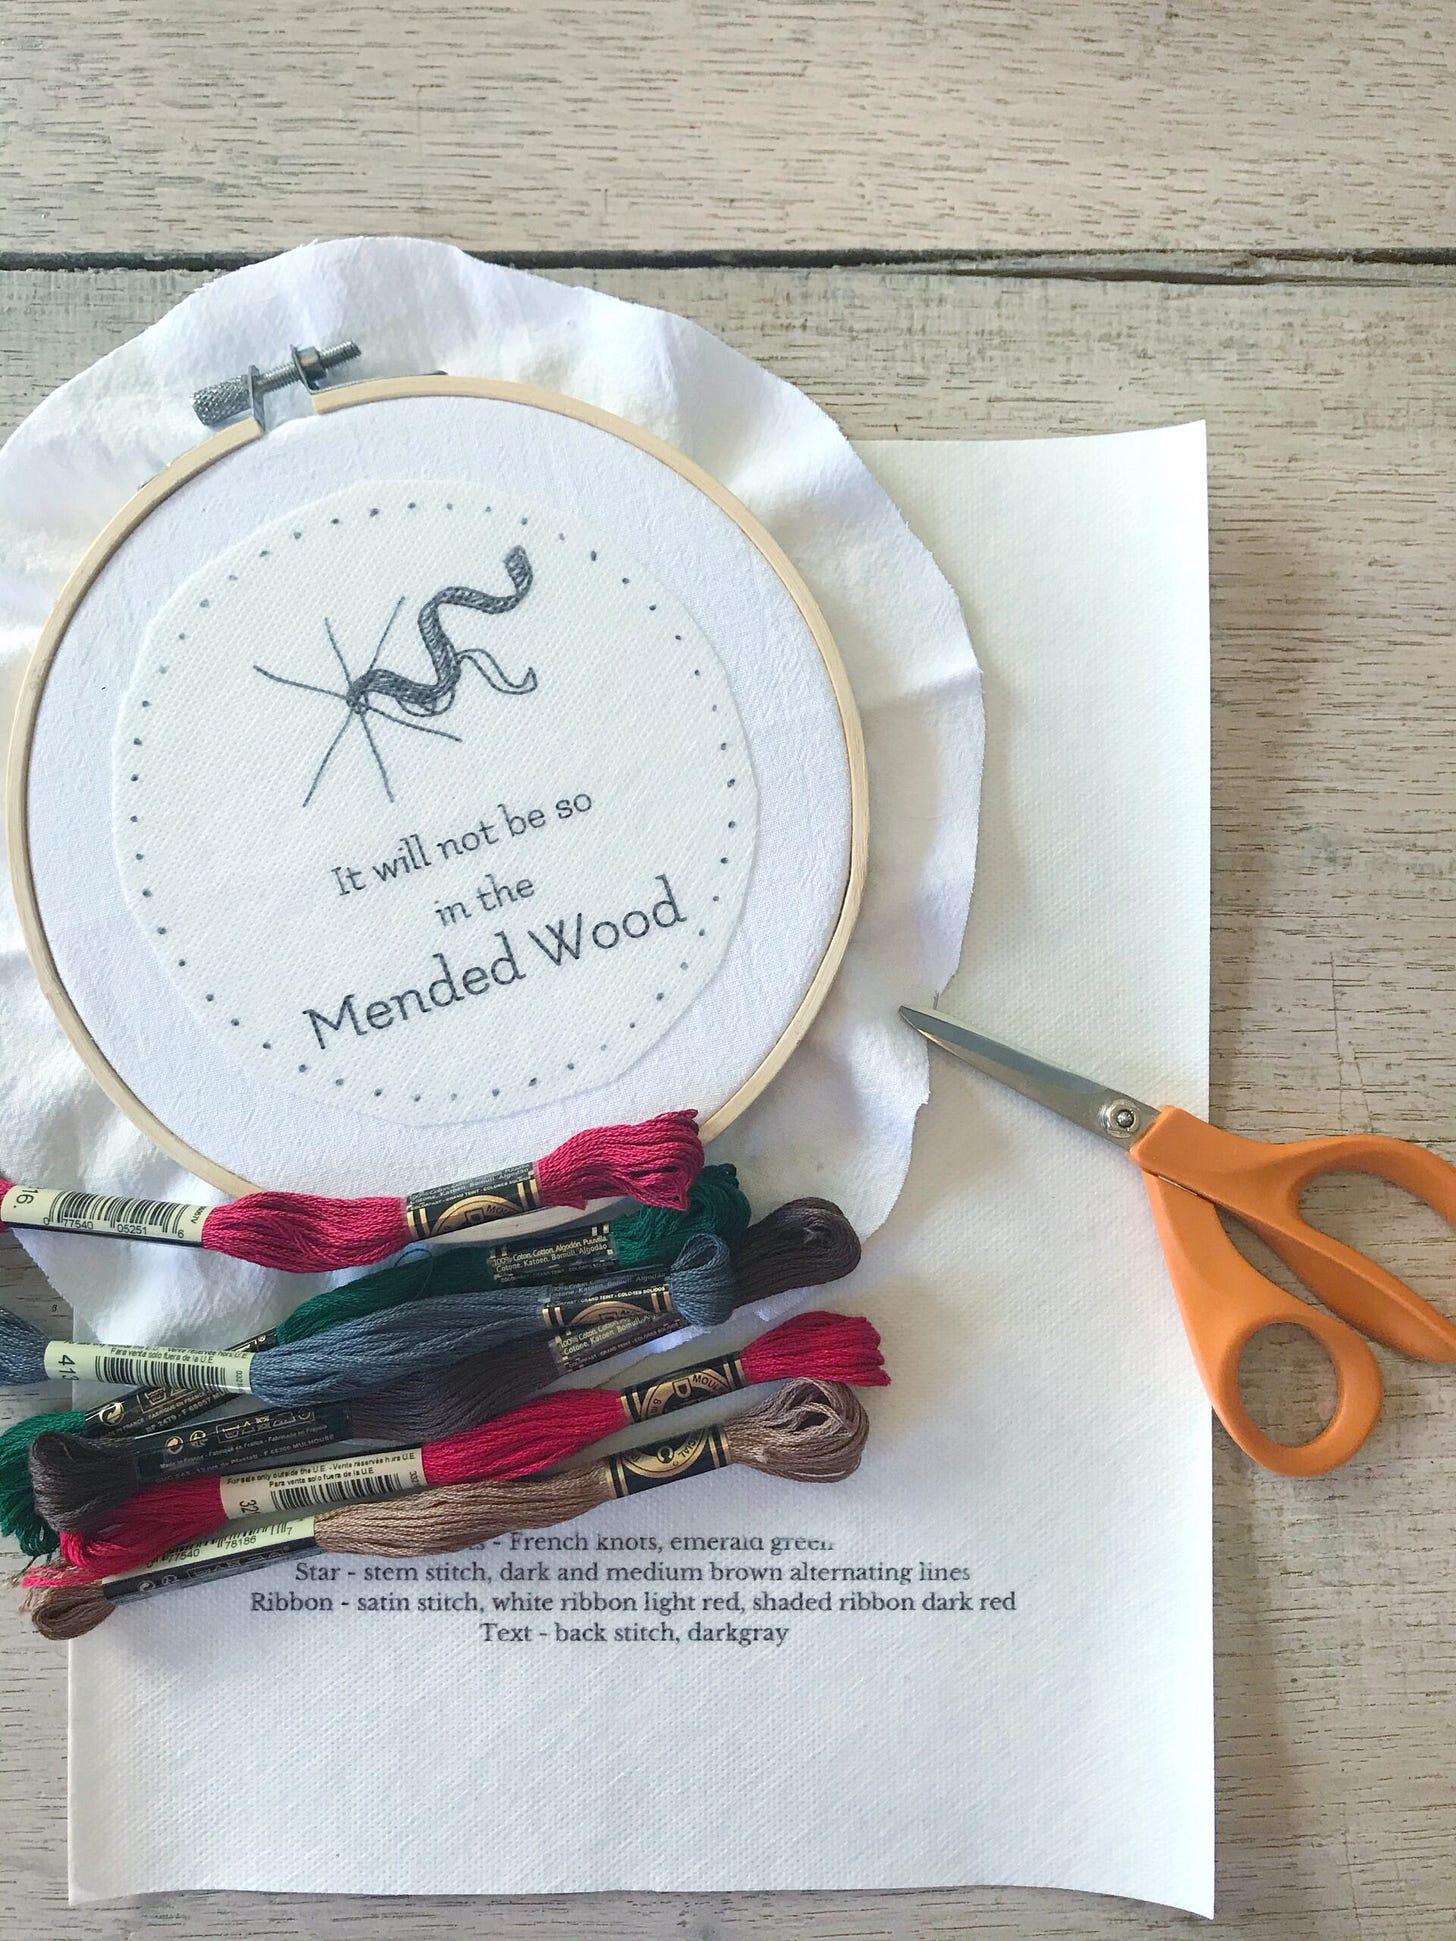
Printed pattern to copy and embroidery pen or print-on water-soluble sticky paper
sewing needles
Embroidery floss in dark emerald green, dark brown, medium brown, dark gray, dark red, light red
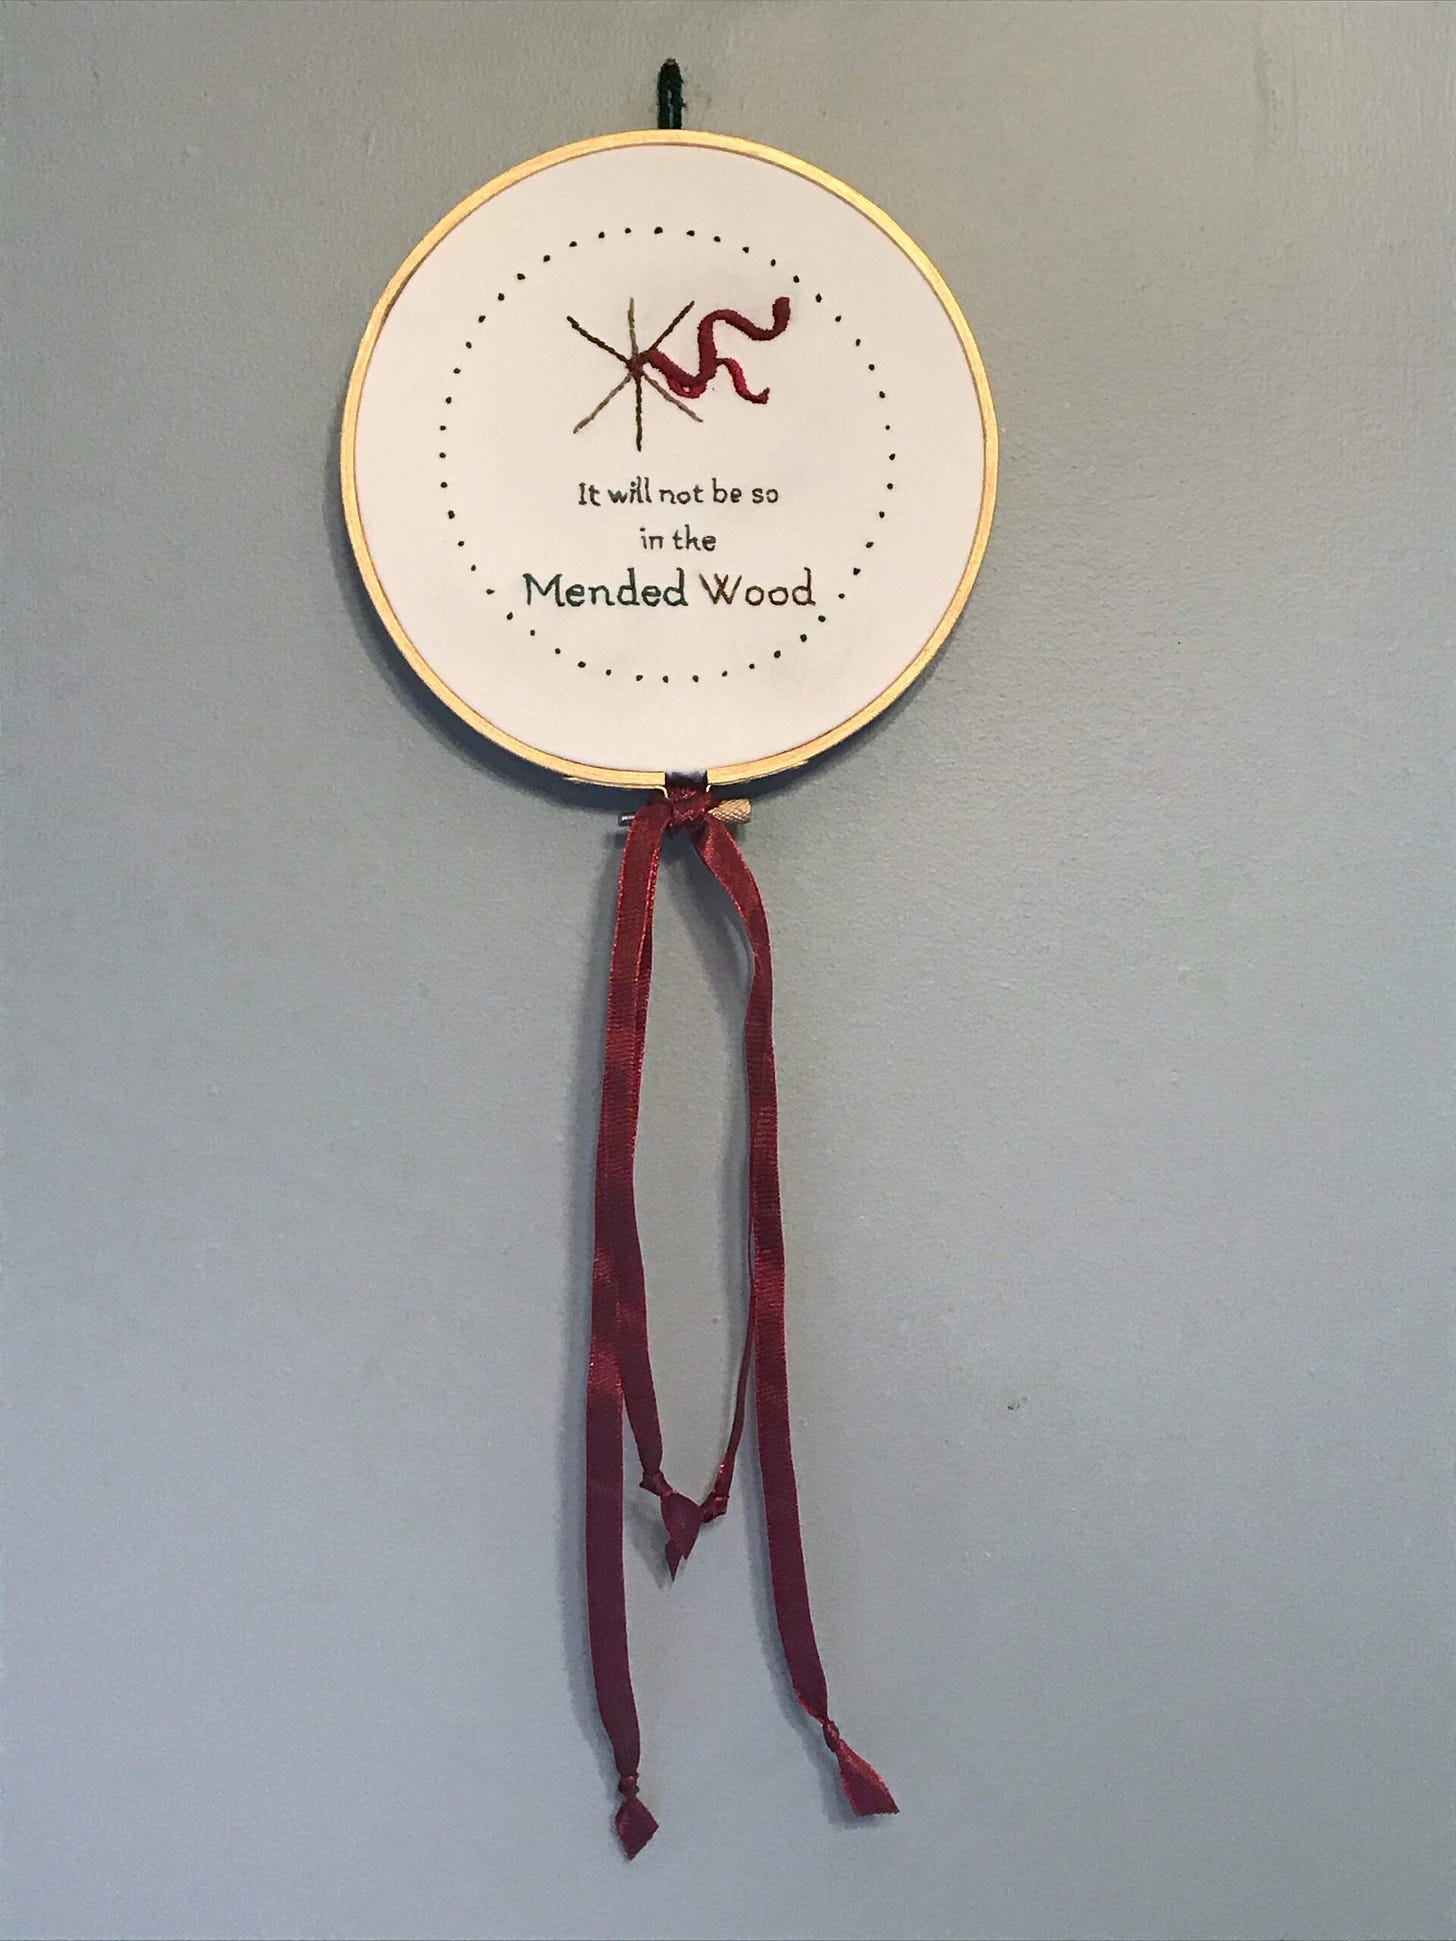
Red ribbons for streamers if you will be hanging your finished piece
Handicraft Stitch Tutorial
The stitches you will be using:
French knot - a simple way to make little round knot stitches
Stem stitch - a lovely and easy way to make a thicker line
Satin stitch - a simple filler stitch
Backstitch - an easy way to fill in text
Directions:
Cut your linen fabric (if using) in a 9 inch diameter circle - if you are using an embroidery transfer pen, you will want to transfer the pattern before you put the fabric in the hoop. Simple place the printed pattern under your fabric and trace it. If you need a "light box", tape the patter to a window and tape your fabric over it.
Center the fabric over the solid portion of your hoop. Add the top hoop and tighten gradually while gently pulling the fabric taught through the hoop. (Watch the video for a demonstration)
If you are using the printed sticky paper for your pattern, apply it now.
Thread your needle and begin stitching!
French knots - Dark emerald green around the outside
Stem stitch - dark brown and light brown alternating on the Star sticks
Satin stitch - dark red on the shaded ribbon, light red on the smaller ribbon
Backstitch - dark gray for the text
When your sewing is completed, you will need to rinse the sticky fabric or ink from your piece. Let it dry, then press it nice and flat.
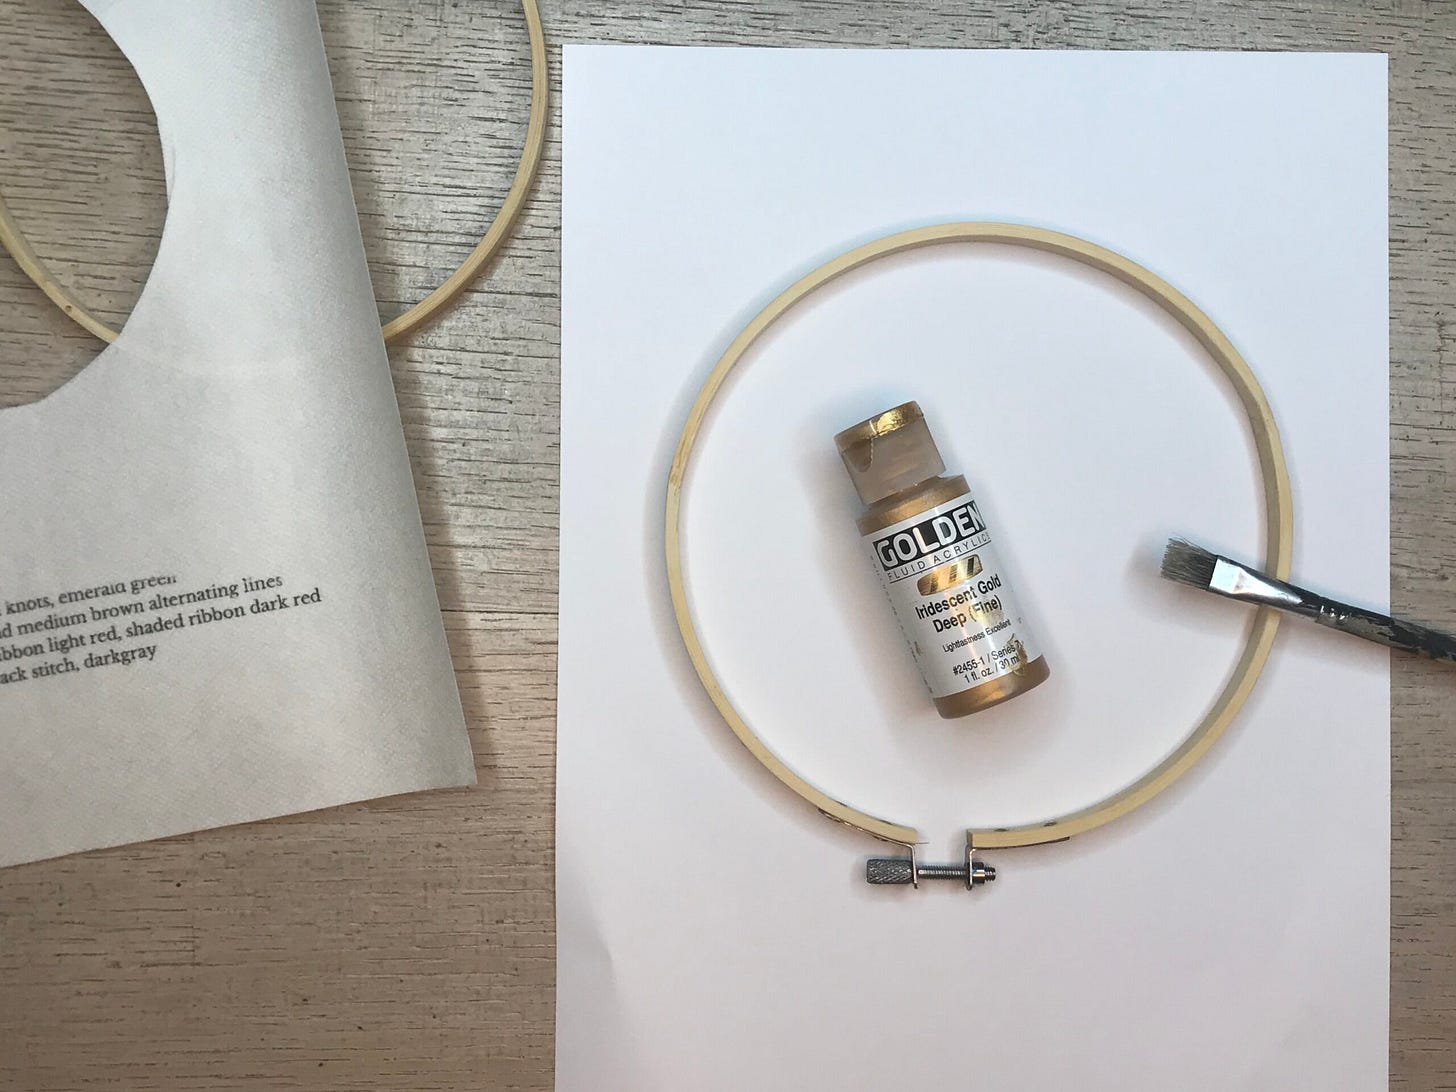
To finish your piece, you may choose to paint the outer hoop. We used a decorative gold paint.
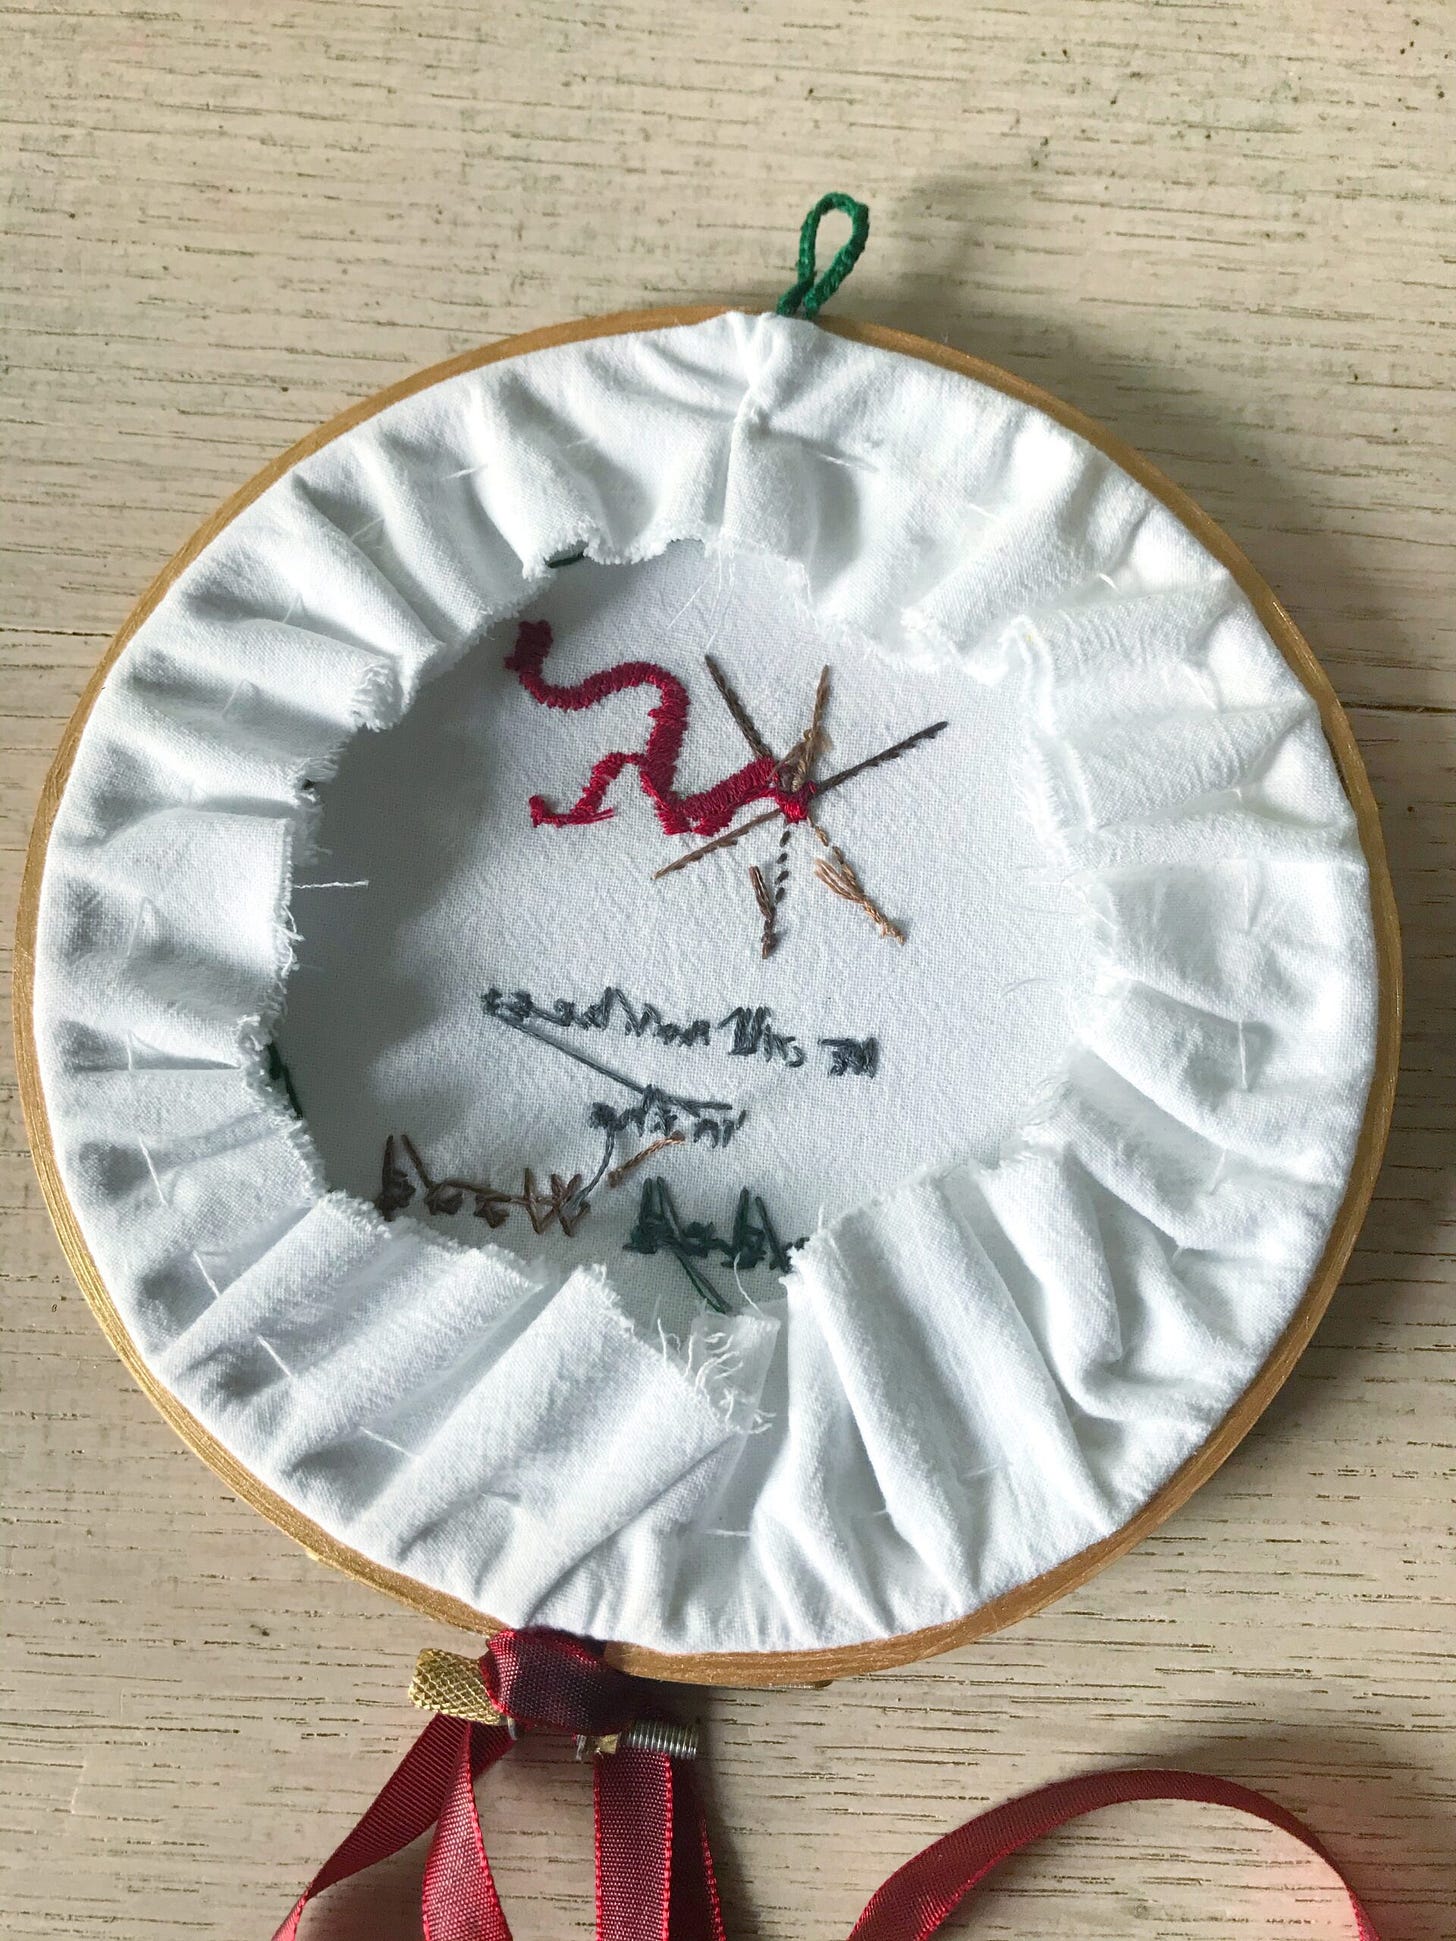
After you have placed your completed piece back into the hoop and tightened it, you need to finish the back. Either trim and glue down the extra fabric or sew it closed as shown below.
Add ribbon streamers to the closer of your hoop and enjoy your beautiful new piece!


