Hello, friends! Welcome to Day 5 of our 5 Days of The Green Ember series. We are so sad for this series to be done, but we are thrilled to be sharing with you this art incredible lesson.
Is there another series you'd like for us to tackle? We love our rich literature-based lessons and enjoy adding fun twists to them with beloved tales. Leave us a comment or shoot us an email with your suggestions for another 5 Days of series!
5 Days of the Green Ember
A Conversation with S.D. Smith
Nature Study with The Green Ember
Lighthall Watercolor Art Lesson
Find our 5 Days of Anne of Green Gables collaboration with Awaken to Delight here!
This is an advanced watercolor lesson as far as the sketching goes, but to help simplify it we have included an optional printable PDF template if you'd rather do it that way instead of drawing out the picture yourself. You can even let your youngest students color the template if that works better for them.
What you will need for this lesson:
Watercolor paper and watercolor paint
large and small watercolor brushes
tape
two glasses of water
waterproof pen or black colored pencil
compass
ruler
pencil
Download and print the PDF template below:
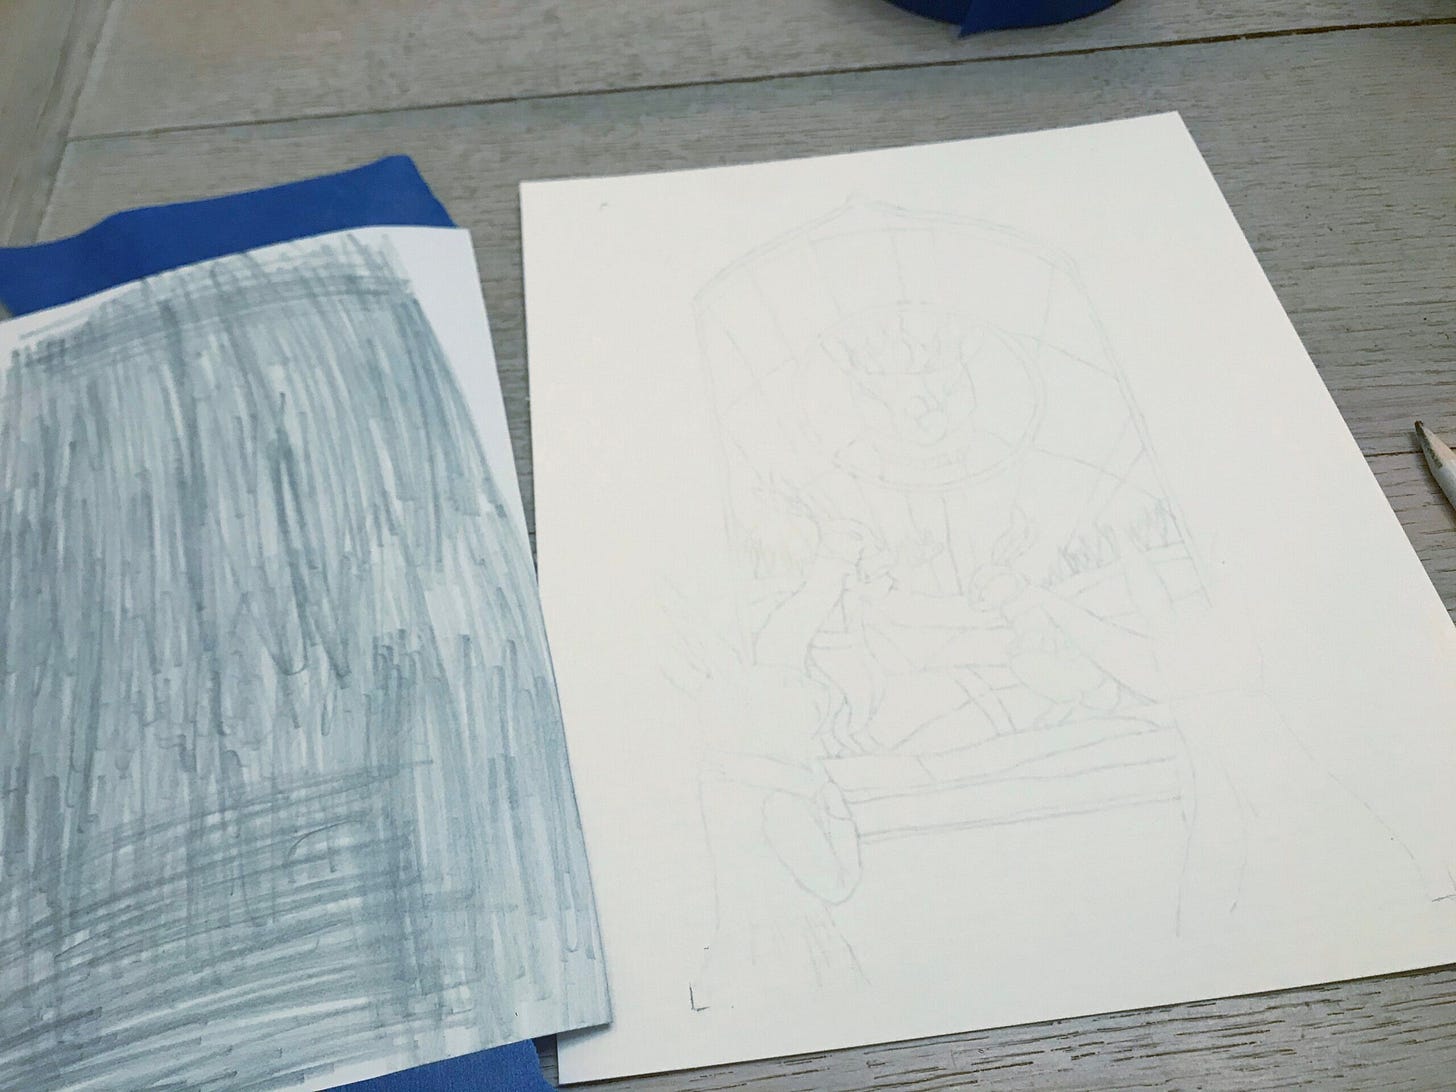
To use the template, cut your watercolor paper down to an 8 x 10-inch sheet. Cut out the template and cover the back of it with a graphite pencil. Tape it down to the center of your watercolor paper and trace over the lines with good pressure.
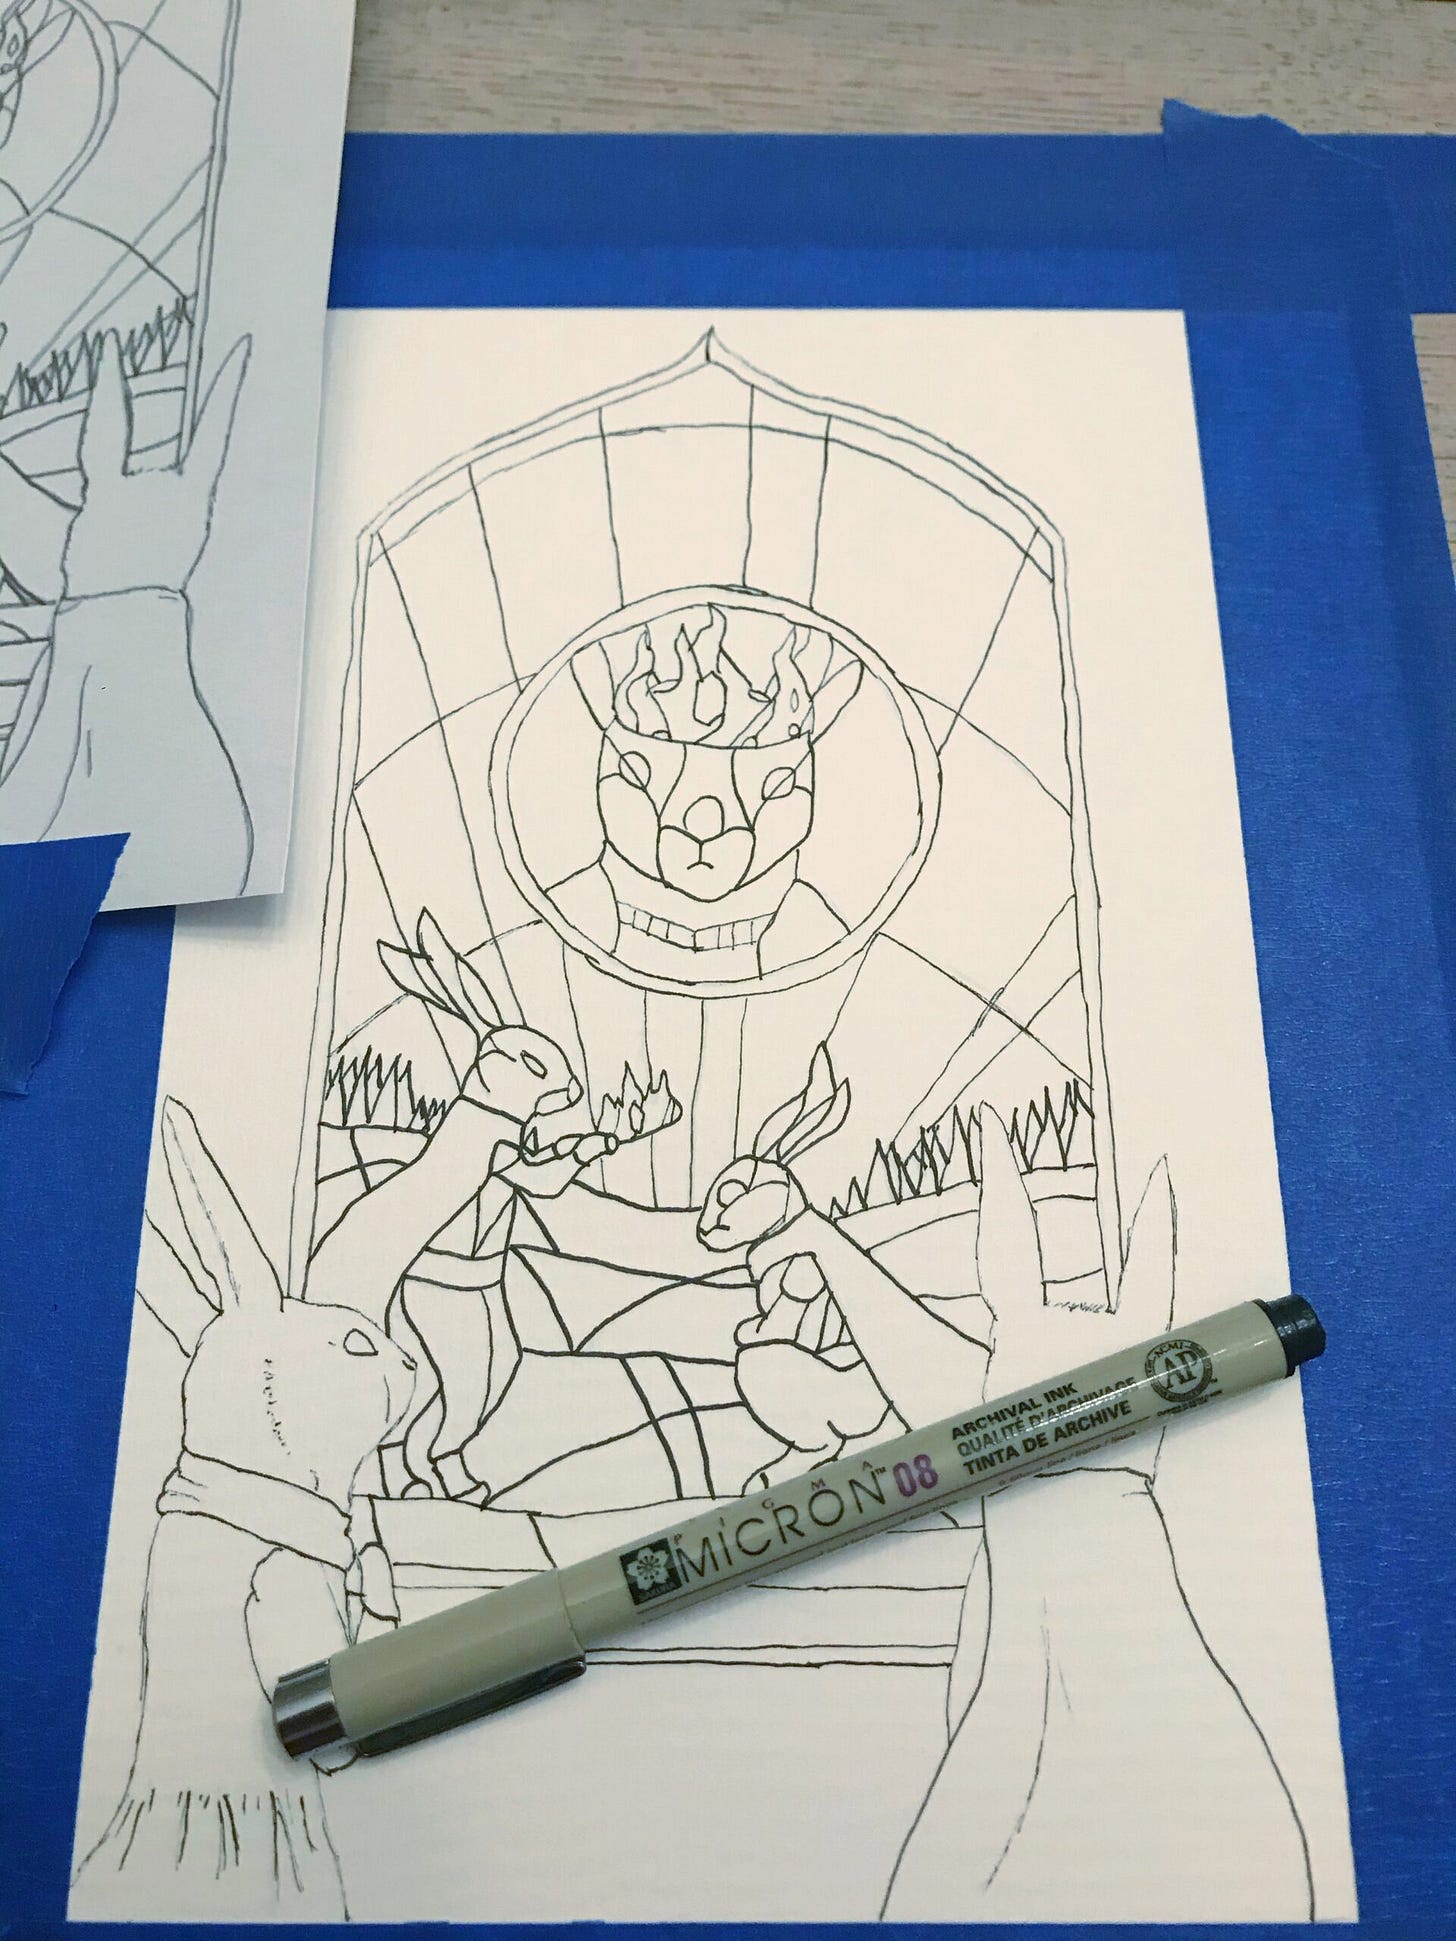
Then trace over the design with your Micron pen, tape the borders, and follow the rest of the video tutorial for painting the picture beginning at the 16:30 mark.
5 Days of the Green Ember
A Conversation with S.D. Smith


